HeroUI Native Pro
在 HeroUI Native 项目中安装和配置 heroui-native-pro
本文由人工撰写(md),AI 优化(mdx)。
本指南基于已完成的 HeroUI Native 项目初始化,请先完成基础项目搭建。
安装
以交互模式安装 heroui-native-pro(完整版):
在开始之前,可以先初始化 git 并提交,方便查看安装后的具体变更。
安装过程会自动处理 react-native 依赖。如果本地已有缓存(~/.heroui/cache/react-native/{version}),会从缓存获取;否则从 CDN 下载后缓存。之后再安装时,同一版本会直接走本地缓存,除非手动清除。

配置
安装完成后,需要在全局样式中导入 Pro 的样式和组件源。
导入 Pro 样式
在 global.css 中添加 heroui-native-pro 的样式导入和组件源扫描:
@import 'tailwindcss';
@import 'uniwind';

@import 'heroui-native/styles';
@import 'heroui-native-pro/styles';

@source './node_modules/heroui-native/lib';
@source './node_modules/heroui-native-pro/lib';
@source 路径是相对于 global.css 文件而言的。如果 global.css 不在项目根目录(例如在 app/ 中),路径应调整为 ../node_modules/heroui-native-pro/lib。
使用
创建 Pro 组件
在 components 目录下创建一个组件文件来使用 Pro 组件:
import { Stepper } from 'heroui-native-pro';
import { View } from 'react-native';

export default function MyComponent() {
  return (
    <View className="flex-1 justify-center bg-background p-4">
      <Stepper>
        <Stepper.Step>
          <Stepper.Rail />
          <Stepper.Content>
            <Stepper.Title>Account</Stepper.Title>
            <Stepper.Description>Create your account</Stepper.Description>
          </Stepper.Content>
        </Stepper.Step>
        <Stepper.Step>
          <Stepper.Rail />
          <Stepper.Content>
            <Stepper.Title>Profile</Stepper.Title>
            <Stepper.Description>Set up your profile</Stepper.Description>
          </Stepper.Content>
        </Stepper.Step>
      </Stepper>
    </View>
  );
}
替换首页内容
在首页(路径因项目组织方式而异,通常为 src/app/(home)/index.tsx)中导入并使用该组件:
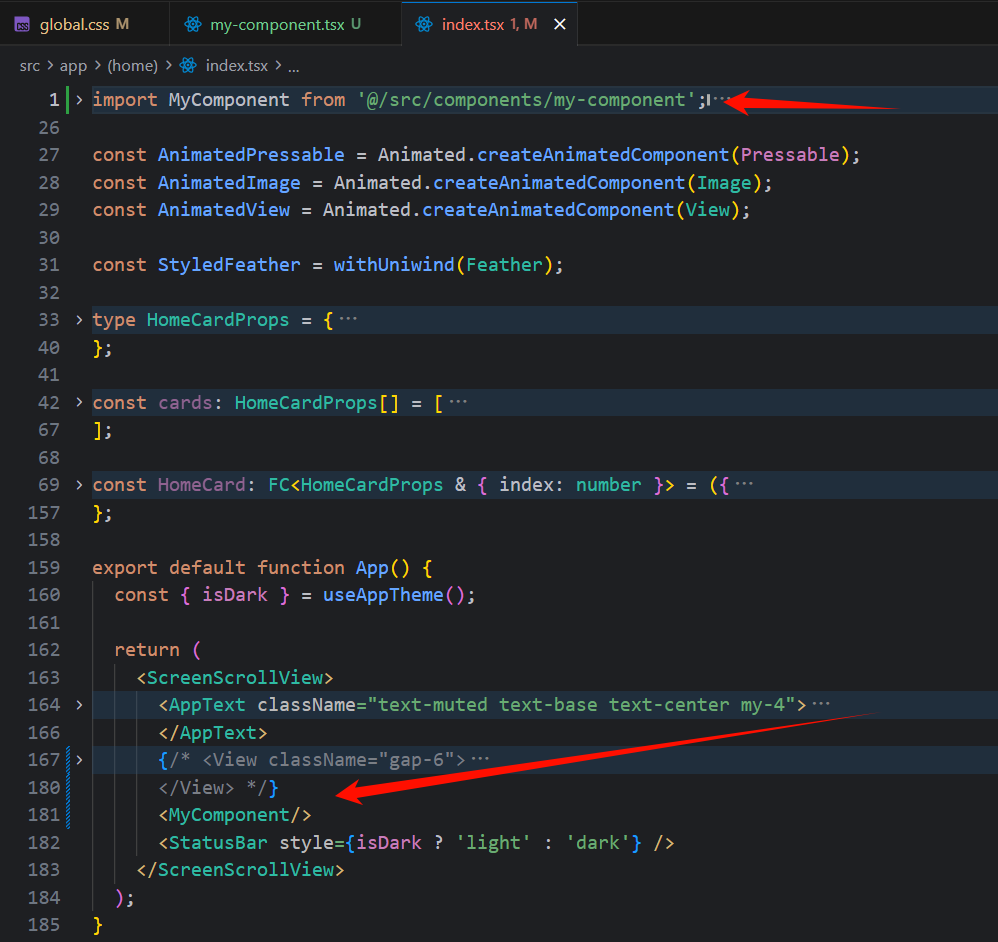
import MyComponent from '@/src/components/my-component';

// 在 ScreenScrollView 中替换 View 部分
<MyComponent />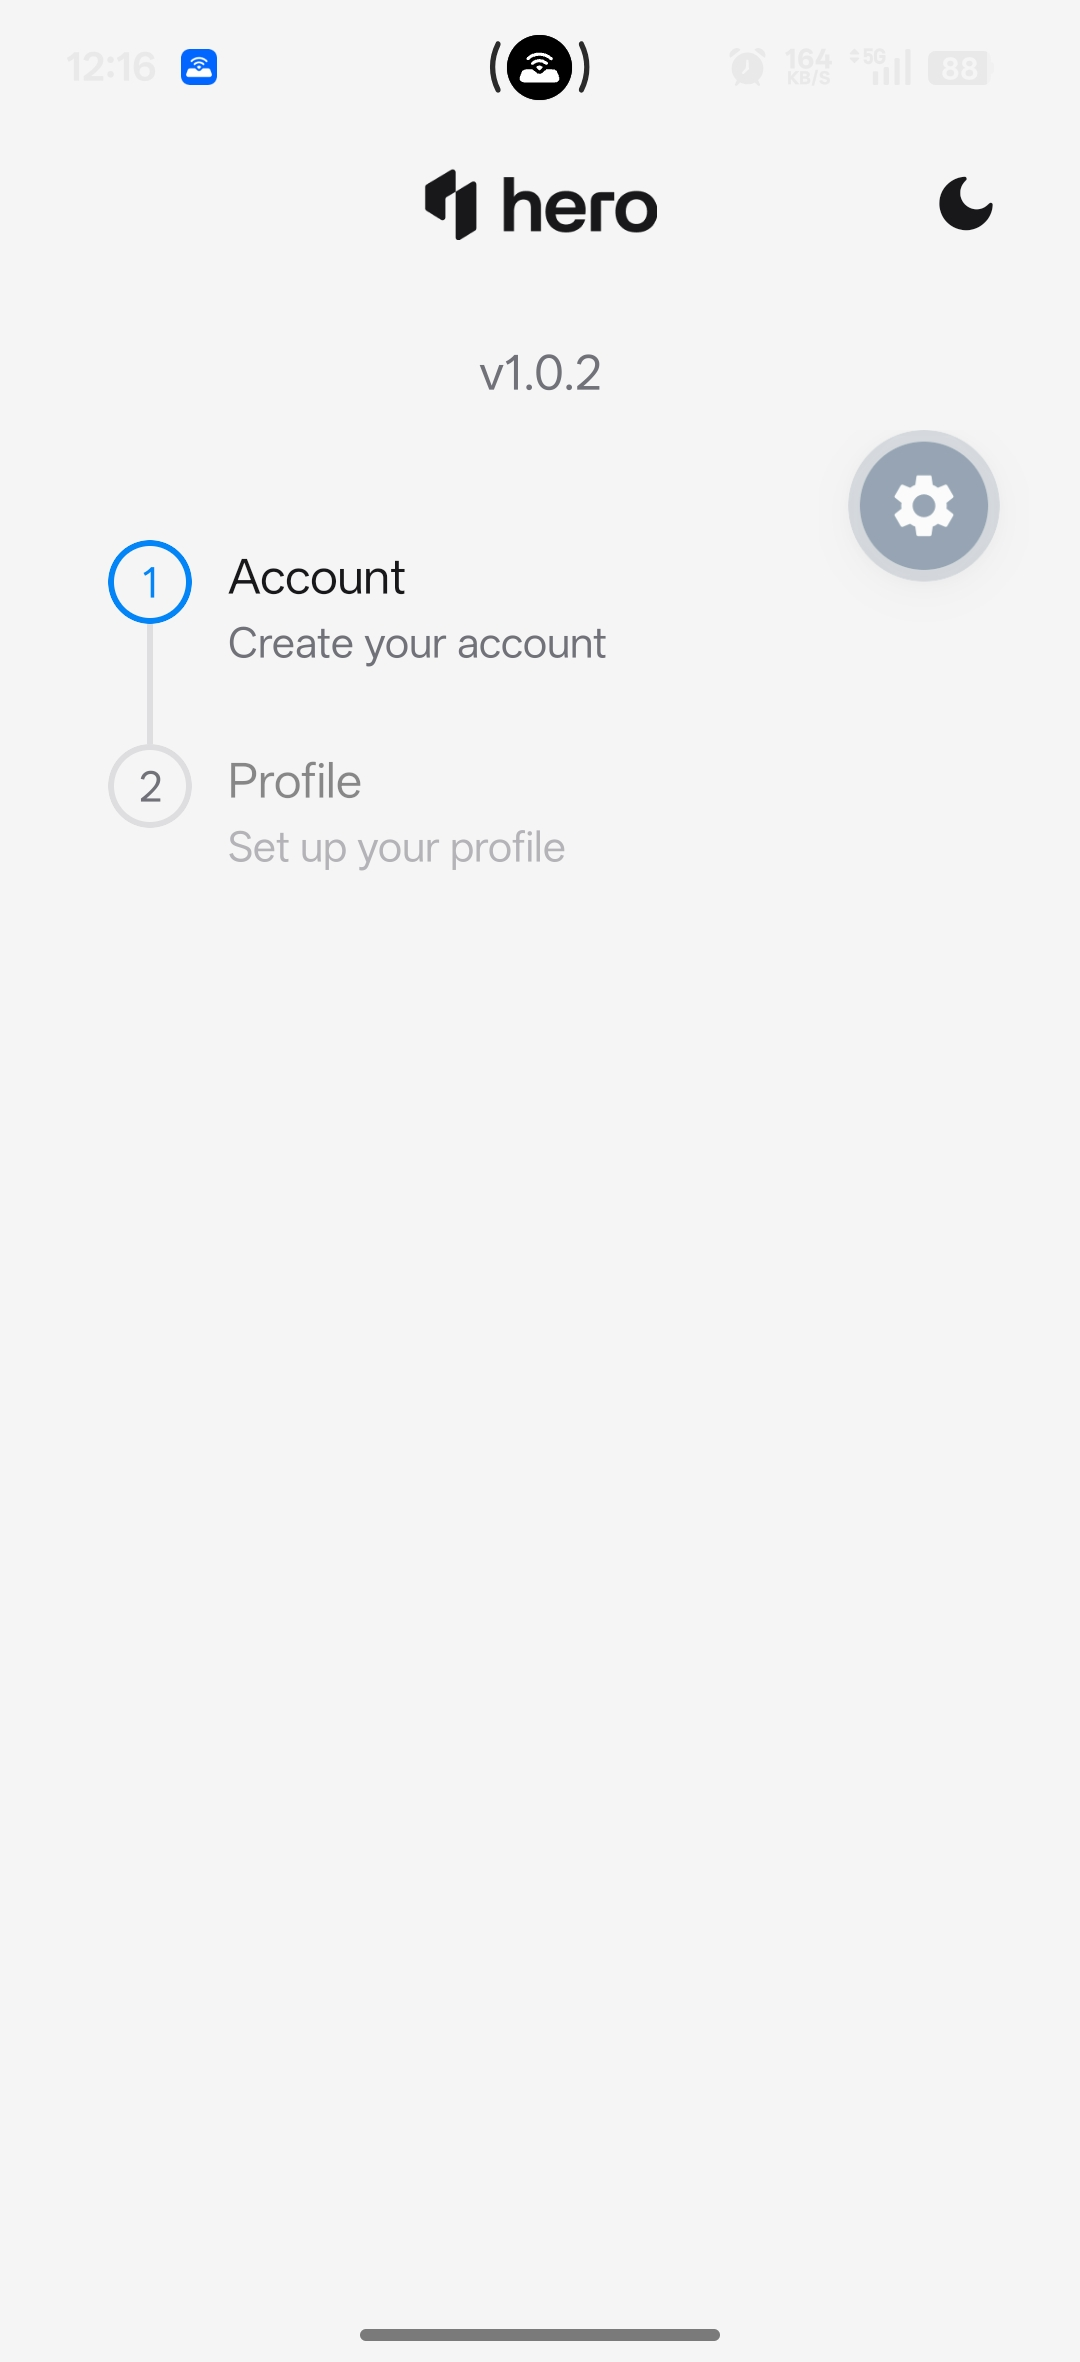
更新模板
安装完成后,可以将当前项目更新为模板(会覆盖原有模板),下次直接使用:
p tp update .p template update .p templates update .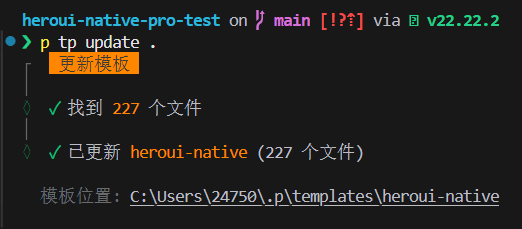
发布到远程
也可以将模板发布到远程,分享给其他人 clone 使用:
p tp publish .p template publish .p templates publish .
How is this guide?
Last updated on